
By Karen Quinn
After a long, bitter cold winter, it’s time to welcome our bees and other pollinator friends back after their much needed, and well deserved, hibernation.
If you built pollinator hotels and overwintered them last fall (see my article in issue #90 of The Crazy Wisdom Community Journal for building directions), you can put them back out in your yard when the mid-day temperature reaches a consistent 55 degrees, and the overnights are above 35 degrees. In Southeast Michigan, that puts us around late March to mid-April, on average. However, we natives know that Michigan weather is hardly consistent, so use your best judgment.
Here are a few tips to help the flying friends as they come out of hibernation. First, I will suggest creating something called an “Emergence Box.” This can be a plastic bin or heavy-duty cardboard box that your hotel will fit inside. On one of the sides of the box/bin, cut a single ½ inch diameter hole. As our little buddies wake up, they will follow the light of the hole and leave the box. I went the plastic bin route, since I can use it year after year, and I don’t have to worry about it if it gets wet. If you choose to go this route, I suggest using a non-clear bin to make it easier for the groggy bees to find their way out. However, my first few years I did use heavy duty cardboard boxes. If you decide to take this route, just keep it up off the ground and under cover to keep it from getting soggy during spring rains.

There are a few reasons why this is a good practice. One reason is it keeps the pollinator hotel dry and free from most rodents and predators. The only stinkers you have to keep an eye out for are mice. If you find mice are making their way in and out of the emergence hole, you can cover it with a mesh screen. I use old potato or onion bags to cover the hole. The second reason is that a nesting female won’t see that as a safe place to return to lay her eggs.
Be sure to monitor the hotel in the emergence box often for unwanted visitors as well as keeping track of when it’s empty. You will know that a tube nest or the wooden block holes are empty when the plug at the end of the tunnel is broken. If you used pinecones, straw, or sticks, a cursory look for anyone sleeping among the debris is your best bet. Another important thing to watch for is moisture. This could be due to rain, or leaks in the wood. Access it to see if you need to weatherproof the seams, extend the roof, or adjust the placement of the hotel. Keeping the hotel dry, safe, and warm is of the upmost importance as our buzzing buddies wake back up.
Once the hotel is empty of occupants, it’s time to clean it up and get it ready for the next use. Start by removing all the nesting materials. Then, give it a good sanitizing scrub with a diluted bleach mixture. MSU suggests a ½ cup of bleach to a gallon of water for this process. This is a very necessary step to keep your local population of pollinators healthy. It is imperative to remove any parasites or pathogens that can cause diseases from the nesting areas. If you are reusing your tubes, clean them out with a pipe cleaner or straw cleaning brush to remove any debris, then soak them in the bleach solution and allow them to air dry. If you are using the drilled block method, you can use the same size drill bits to rebore out the holes if you wish, then soak the wood in the bleach solution, and allow it to air dry completely. You can use the natural tubes and wooden blocks for two years before they need to be replaced. Be sure to wash the box of the hotel completely as well and make any necessary repairs to rotten wood. Once it’s all cleaned and dried, you can place it back out in your garden or store it and use it next year.

Now, if you want to help your nesting female friends out all summer (and I highly recommend you do!) Simply place a new, clean, bee hotel, identical to the one you put out in the fall, near the emergence box in your garden. Now, it doesn’t have to be “new,” it can also be the nesting box you just cleaned or one you stored from the previous year. Make sure it is in a protected, covered space, facing southeast so it receives direct sunlight in the mornings. It is best to put the new hotel up about 4’-5’ on a post, building, or tree as close to your garden as possible. Then simply leave it all summer, and when the temperatures drop again in late October, your hotel is full of pollinators and ready to be put in a safe place!
If you place a new bee hotel out, continue to monitor it throughout to garden season. When you see tubes or drilled holes capped with mud or leaves, that is a sign of mason or leafcutter bee nests. You might even find cocoons of moths or butterflies in your straw and sticks, which are oh so much fun to watch. But aside from “wanted activity,” you should also watch for unwanted events as well
Next, watch out for ants! They will gladly use your hotel as a bee larvae diner and destroy your bees’ nests. There are many pollinator safe remedies out there. Diatomaceous Earth (or DE) around the base of the post or in the bottom of the nesting box can be a good preventative as well as deterrent. I’ve also heard other gardeners have success using ant bait and sticky spray to deter an active invasion. The last thing I watch for is an excess of spiderwebs. Now, if some enterprising genius arachnid sets up shop on my bee box, I’m not above moving a spider away from my hotel, but a lot of webs is an indication that it might be in a little too shady of a spot.
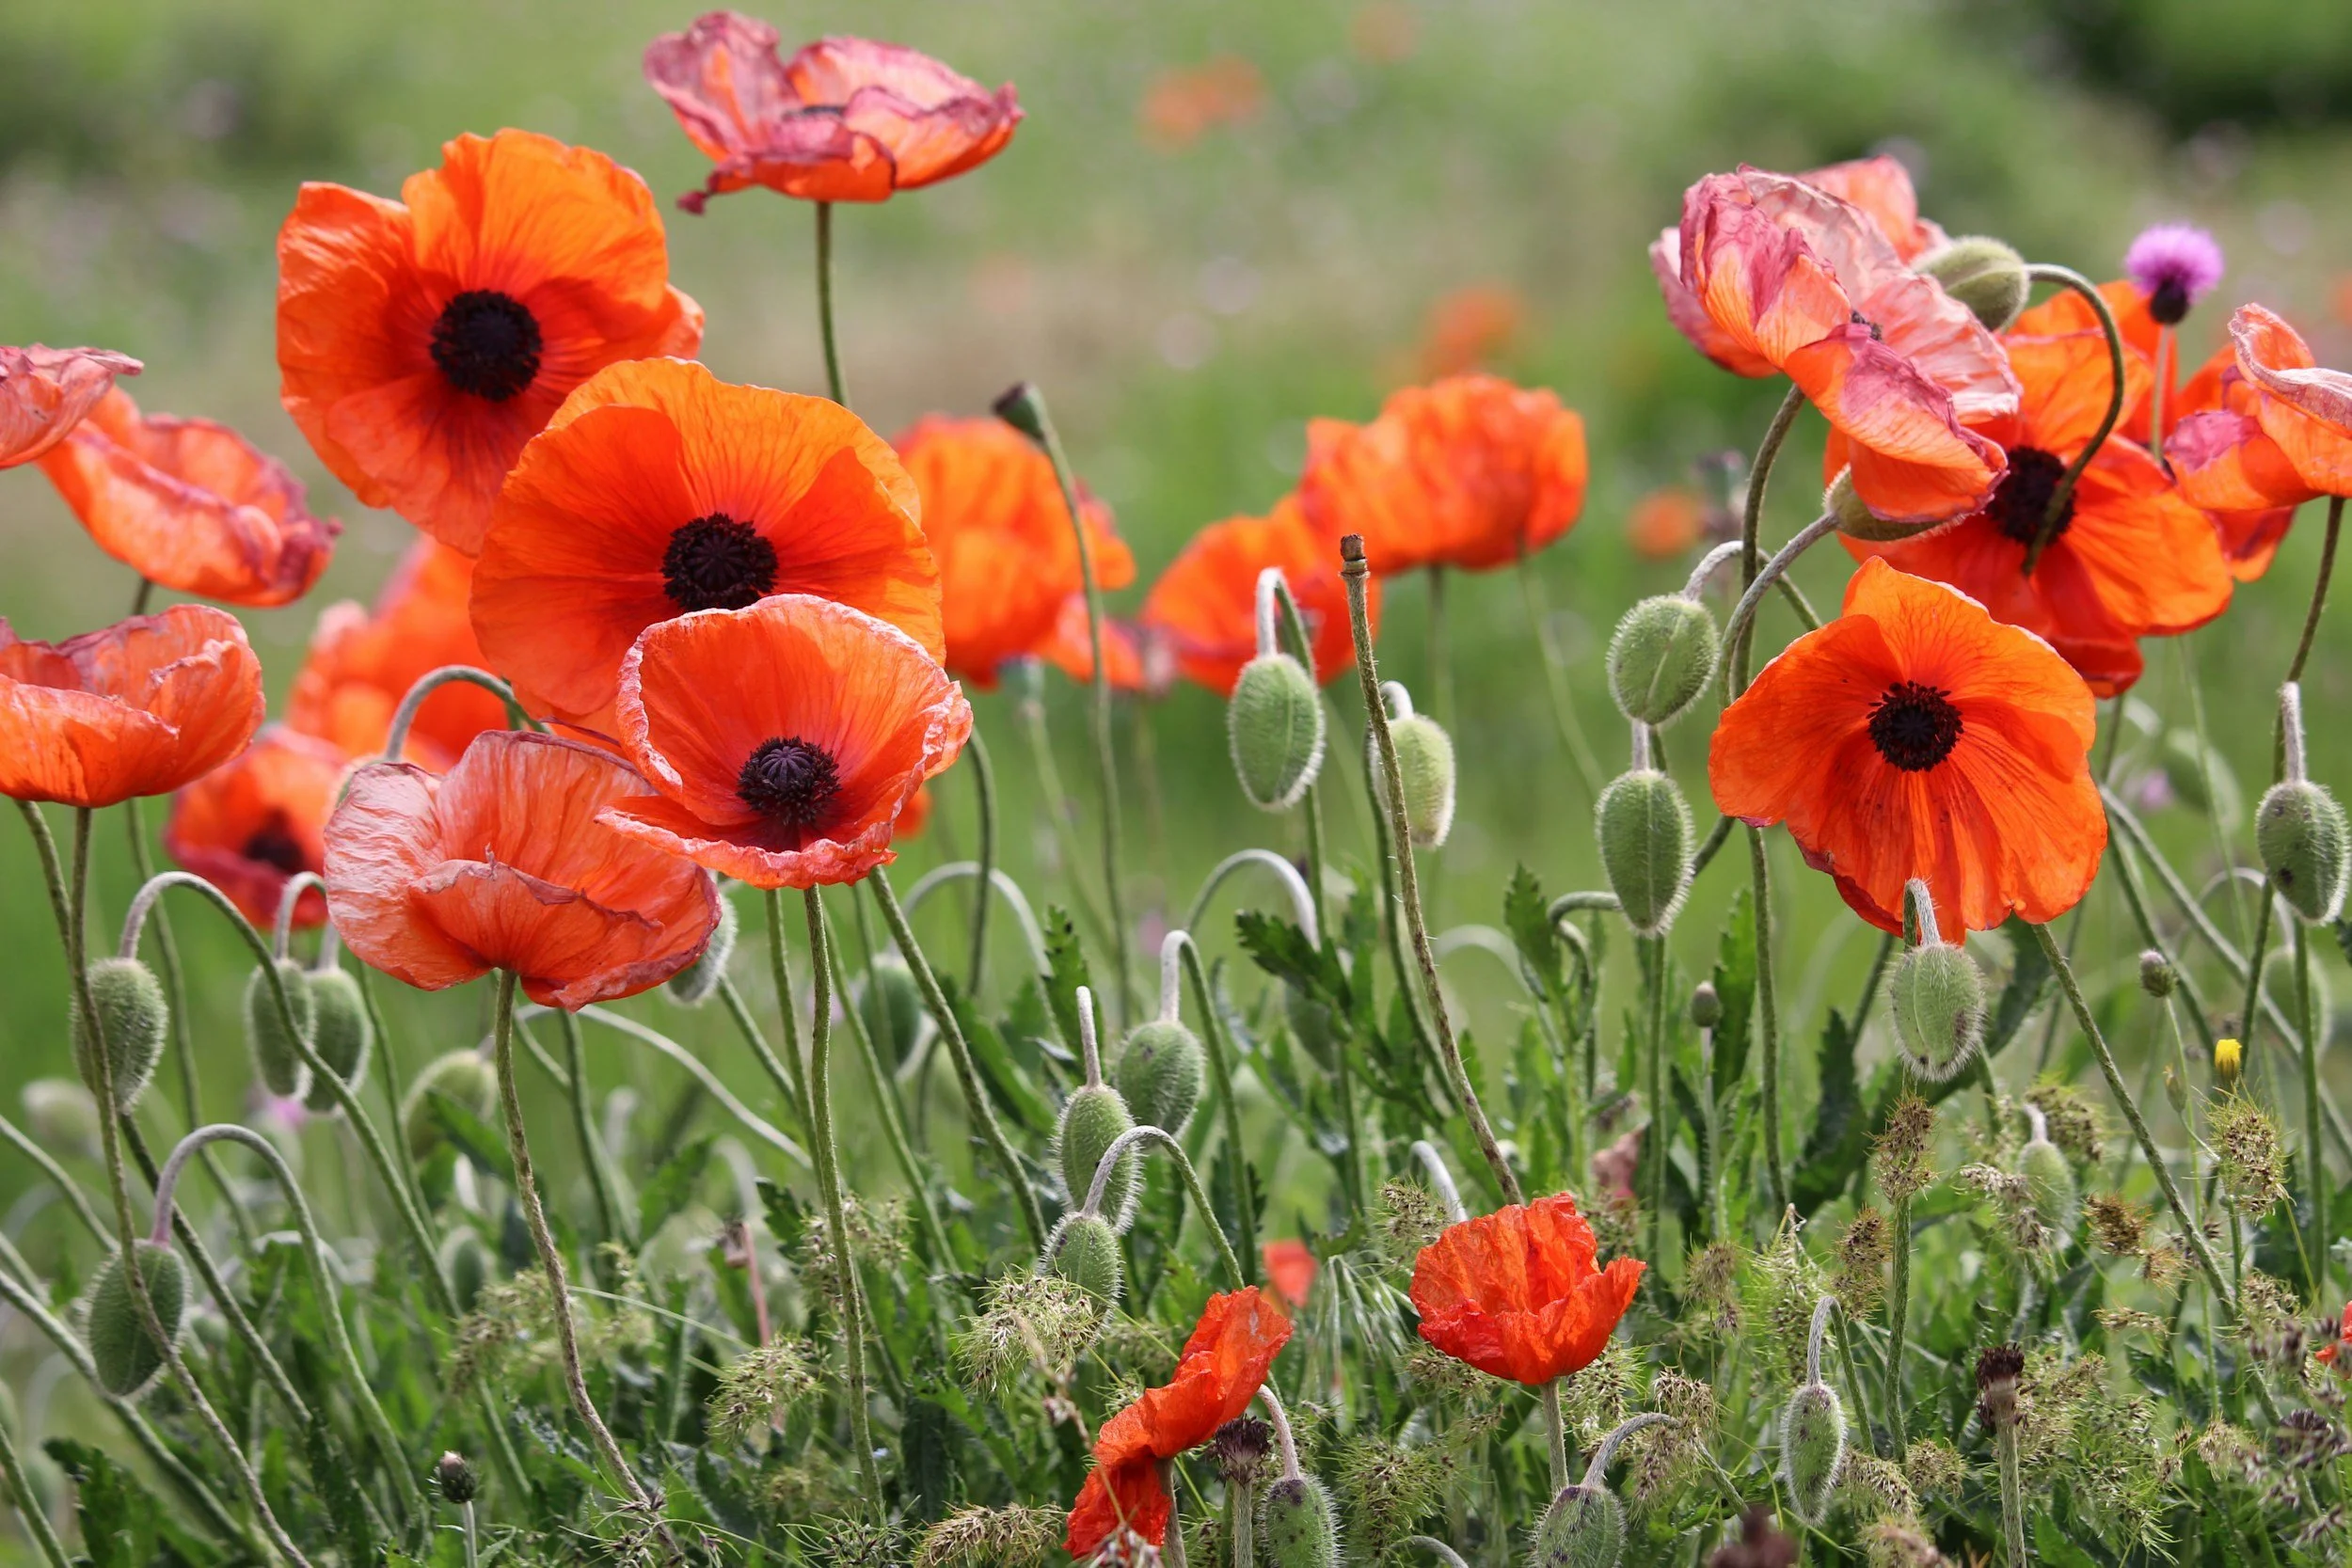
Finally, be sure to add more native blooms and natural habitat around your garden to encourage even more bees, flies, beetles, moths, birds, and butterflies to stay. Be the oasis these little creatures are dreaming of, and they will pay you back tenfold by simply being themselves, and making your garden more beautiful than you knew it could be.
Karen Quinn is a writer and artist who homesteads on a rural urban farm in Livonia, Michigan with her husband, son, and a menagerie of animals. Her favorite things are reading, exploring, and drinking tea.
Read Related Articles:


The words were out of my mouth before I’d spent even a single second considering them. Appalled, I gazed, eyes wide, at the woman in front of me, a new acquaintance whom I knew to be highly intuitive, an accomplished spiritual healer. I couldn’t fathom where that statement had come from. It was almost as if the words had been spoken to me, as much as through me.