
By Emily Springfield
As the days shorten and the gardens are put to bed, I find I not only miss fresh greens, I miss puttering in my garden and watching my food grow. So, for several years, I’ve been experimenting with ways to grow meaningful amounts of vegetables indoors. It comes down to:
Choosing the right varieties
Providing lots of light
Planting in deep soil
Fertilizing regularly
Let’s take a closer look and hopefully you, too, can grow a “bag of salad” a week.
What to Grow Indoors

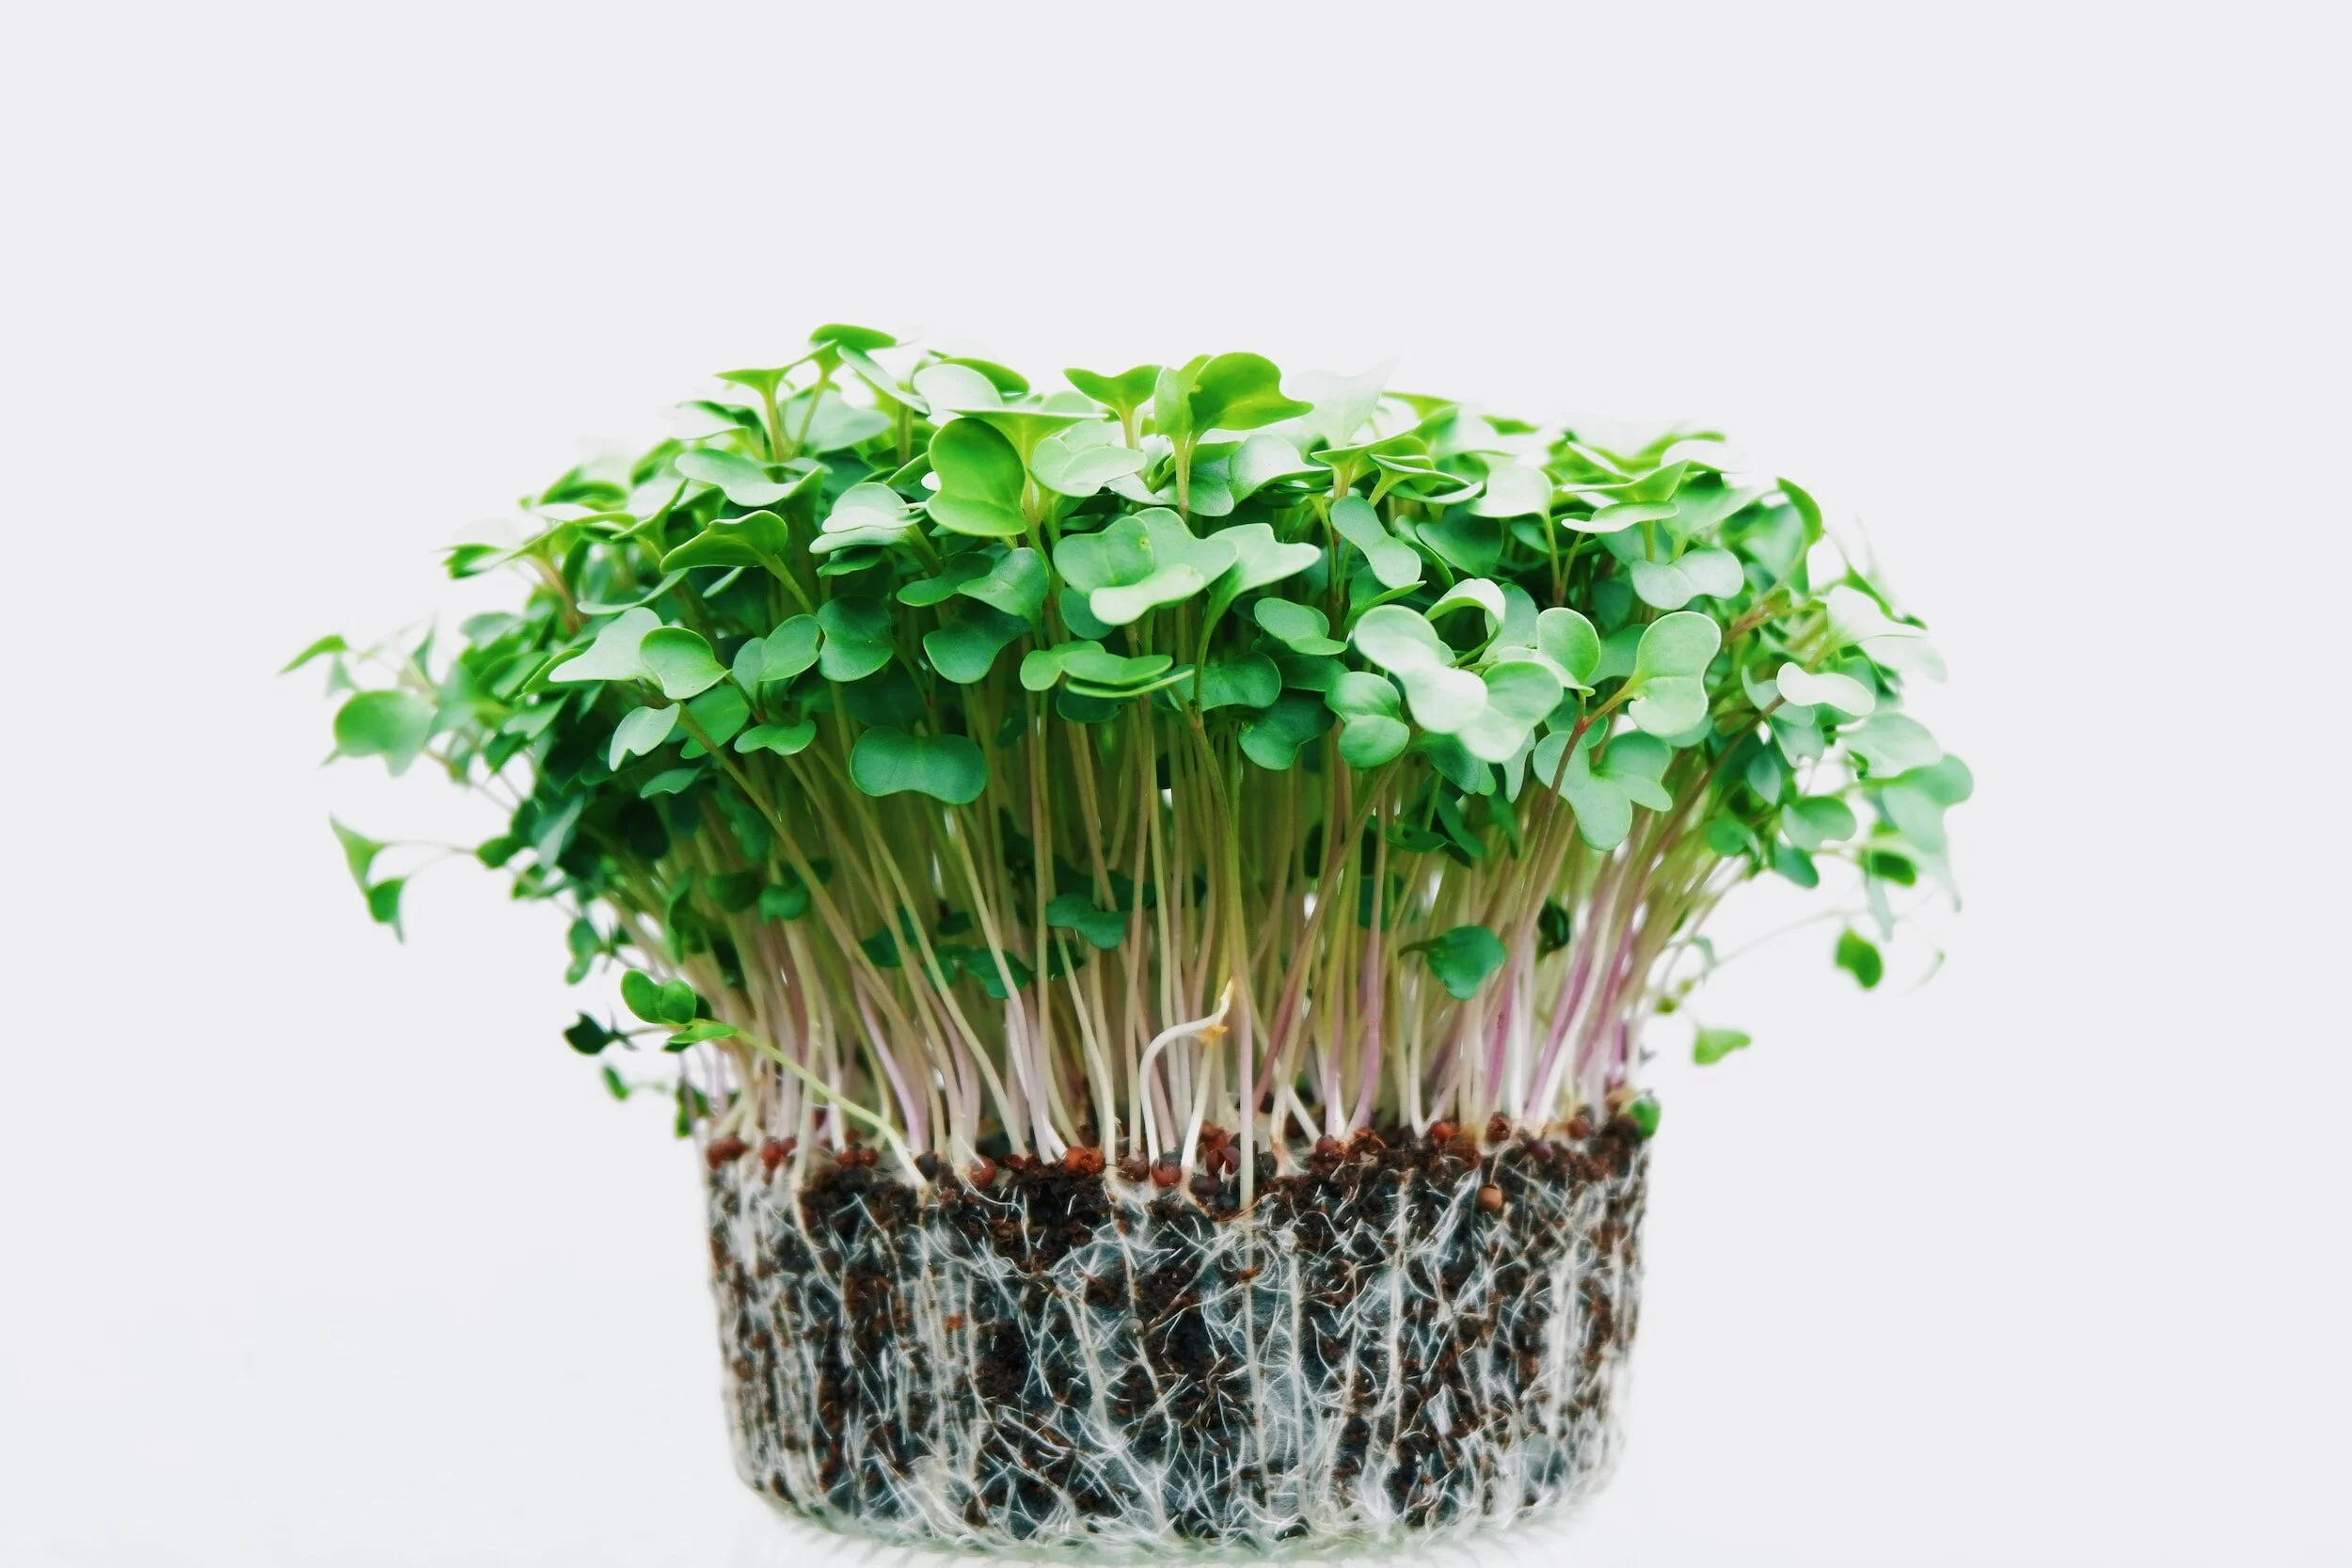
Indoor gardening is all about greens. While it is possible to grow things that produce a fruit or a root, greens will produce the most food with the fewest inputs. Different sizes of greens are possible. Baby greens have a few true leaves a little bigger than your thumb. You can grow full-sized lettuce, mustards, and Asian-style greens with enough soil and light. And microgreens—tiny sprouts, grown just until they have their first two seed leaves–need the least light and soil of all.
Provide Lots of Light
I have a whole wall of windows on the south side of my house that captures sun in the winter. However, I’ve discovered that they don’t provide enough light through a cloudy Michigan winter. I’ve tried both T5 fluorescent setups and a couple kinds of LEDs. What seems to matter the most is not the kind of bulb, but the number of bulbs and the kind of fixture they are in. Reflectors are absolutely critical.
Fluorescent Lights

There are several prominent brands: Agrobrite and Vivosun are probably the two best-known and are both high-quality. Fixtures are either two foot or four foot long and can come with two, four, or six bulbs per fixture. I find two bulbs to be sufficient, and four bulbs is ideal. Six fluorescent bulbs can get too hot, so there’s not much reason to spend extra. If you get a highly reflective fixture (the underside by the bulbs almost looks like a mirror), your plants will be flooded with exceptional light. I usually find I need to replace one bulb per fixture per year, so buy spare bulbs when you get your lights.
LED Lights
There are many brands of LED light bars; I don’t see much difference among the ones sold as grow lights, though you want to avoid similar-looking ones sold as under-cabinet lighting. LED light bars are convenient and modular. They come in two and four-foot lengths. You can hang them horizontally or vertically; you can screw their clips into wood or use the attached hooks; you can daisy-chain them in lots of configurations. They are sufficient as supplemental light or as primary lights if you put them close enough together (about six inches apart).
Whatever you buy, be sure it includes reflectors. Having some sort of reflection increases their light output by at least five times. If you have lights that don’t have reflectors attached, you can improvise with aluminum foil, aluminum flashing, and mylar reflective sheeting. You’ll want to install it above the lights in order to reflect down onto the plants. It’s ugly, but it really helps.
Note that LEDs are less expensive per light, but you need to buy more of them to get the same output. Four strips are necessary and six are ideal. You end up not saving money or energy over fluorescents. LEDs are also more likely to stop working and are non-repairable. Half the LEDs I bought to test stopped working after a year or so, but all my fluorescent fixtures still work (with a few replaced bulbs). So, despite the environmental drawbacks of mercury in the fluorescent bulbs, I’ve continued to use them rather than replace my fixtures with LEDs.
Provide Deep Dirt
Unless you are growing microgreens, you need a lot of dirt to grow food in pots. Plants put out a lot of roots to forage for nutrients, and you need to give them enough soil and nutrition to get to full size. Make sure your planters are at least six inches deep. For example, one head of lettuce needs a pot at least 4″x4″x6″. I really like growing two to three lettuce plants in clear plastic “shoe boxes” with holes drilled in the bottom. Three boxes fix perfectly under a two foot grow light. Plastic under-bed boxes are absolutely perfect for growing baby greens. They are deep enough and have a large growing surface, so there’s no wasted dirt. They fit well under the foot grow lights, and they are sturdy enough to move when full. If you drill drainage holes, you can set the box on its own lid as a drip tray. They may be “unlovely,” but at about $10 each, they are a steal compared to most flowerpots.
Soil and Fertilizer

What kind of soil do you use to grow greens indoors? Something with good drainage and lots of fertility. I tend to go with bagged stuff rather than homemade compost to try to keep the bugs out of my house. Happy Frog is pricey but good. You can mix your own, but the price ends up being about the same in the end. In any case, you don’t want to use something labeled “topsoil” straight out of the bag—it’s far too heavy for growing indoors.
You’ll want to tend that soil well because it’s your big recurring expense. That means fertilizer.
I’m so accustomed to how I handle soil fertility in the garden, I took a long time coming around to accepting that I need to buy fertilizer and use it regularly. When confined to pots, plants just eat up all the nutrients in soil really fast, and then they just…stop growing. They don’t die, but they don’t thrive, either. You’ll never grow full-sized plants if there aren’t enough nutrients in your soil.
Hydroponic shops have a wide variety of fertilizers specifically designed for indoor growing. The sales staff tend to be very knowledgeable. Tell them you’re growing leafy greens, and they will direct you to a number of products (including organic products) that will keep your indoor garden happy. Worm castings are a good choice, but you need quite a lot – a couple cups per planter. Manufactured fertilizers are more concentrated and convenient for mid-season feeding. They come in both granules and liquid. As a rule of thumb, add some fertilizer after each harvest of greens according to the directions on the package.
When it’s time to start a new batch of plants–for example, if your lettuce goes bitter—pull out the old plants and do a heavy rejuvenation of the soil. Add vitamins (worm castings and the powdered fertilizer) and minerals (green sand and/or bone meal). After two to three rounds, or if the soil seems to be tiring out, dump it out into your garden and start with fresh dirt.
Wow, That Sounds Expensive
Yes. It can be. A couple years ago, I’d have said you would never save any money by growing greens indoors–-although with organic greens now selling for $10 a pound, that might be changing! Ways to economize:
Reuse containers you already have
Rig your own light stands and reflectors
Buy lights on sale in the summer or fall
Try microgreens instead of full-sized greens: they need almost nothing in the way of soil and light.
Microgreens

Microgreens are extremely popular and for good reason. They are four to forty times more nutritious than their full-size counterparts (a quarter-cup has the nutrition of a small salad). They can be grown indoors without lights in any season and are beautiful and tasty to eat.
So, how do you get started? It depends on your budget, DIY instinct, and tolerance for mess.
Least Expensive, Total DIY Option
Startup price: Maybe $2, depending on what you have on hand.
If you just want something that gets the job done, you can probably DIY a microgreens setup from things you have on hand. Just find some kind of shallow tray or pan (aluminum pie tin? Plastic take-out tray?), put in about one inch of potting soil, seed starting mix, or coir, and sprinkle heavily with seeds. (There are great directions online at gardeners.com/how-to/grow-microgreens/7987.html.) Keep seeds moist–some kind of clear cover helps–and harvest when they are about two inches tall.
For cheap seeds, check your local garden center for seeds sold in bulk. They are often about $1 per ounce and an ounce of seeds will last you forever. The best varieties are broccoli and kale for mild flavors and radishes or mustard greens if you like them spicy. You can also just use leftover garden seeds. Just keep in mind you’ll need a couple teaspoons for each tray.

Most Expensive but Least Fussy: Microgreens Kit
You can find a variety of Microgreens kits online for about $40. This gives you a tray, several refills, and enough seeds for several servings of microgreens each.
I originally thought these were extraordinarily expensive and ridiculously dependent on a disposable product you can only get from one manufacturer. But as I ran the numbers, I realized that the added expense might be worth it to some folks because of the no-fuss setup. Literally, just add water. There’s no dirt to get on the seeds or splash onto your counter. The tray fits on a windowsill. You can get prettier trays if you’re so inclined. You can even have the seeds sent on a subscription basis, so you don’t even have to reorder. Price per serving (about 1/6 of a tray) is about $2.17 for the first kit and $1.05 for refills. If you could find a 6×12″ tray, you could just buy their refills and get the ease of use without the shockingly overpriced plastic tray.
Happy Medium
Startup price: $29 for three trays and enough seeds to last until your kid goes to college.
Okay, let’s say you’re willing to spend a bit of money, but you don’t want to be stuck in case the boutique microgreens seller goes out of business or jacks up their prices. You can put together your own kit from widely available components:
Seed trays: windowsill size or 10×10″ size (search for “1010 trays no holes” for different colors)
Growing medium: either coir or purpose-made microgreen mats
Seeds: either local in bulk or professional-grade 1 oz. packets
Optional domes: keep heat and humidity in and cats out (use binder clips to keep domes on). I recommend removing the domes, or at least cracking them open once the seeds sprout to avoid mold.
The price on these works out to around .41 cents/serving to start, and .20 cents/serving for refills.
Microgreens grow quickly and are harvested once, so lights are not needed. That’s because seeds contain all the power they need to sprout, and they don’t really start getting energy from the sun until they put out their first true leaves. You’ll harvest the greens before they run out of sprouting power stored in the seed.
I hope this helps you decide what kinds of greens you’d like to grow this winter. I highly recommend trying it. It’s so refreshing to watch something grow and to add a pop of color and nutrition to winter “comfort food”—good for the body and the soul.
Emily Springfield is a Chelsea-area gardener, bodyworker, and herbalist specializing in body energy flows. She uses a combination of nutrient-dense plants, myofascial release, and t’ai-chi-based healing to help her clients improve their flexibility, resilience, and emotional health. Visit fenhaven.com for more information.
Read Related Articles:


A community garden is like a little shared oasis, a special spot where folks from all walks of life come together to grow delicious veggies, fragrant herbs, and beautiful flowers. It becomes a green sanctuary, where members roll up their sleeves, dig in the dirt, and let nature work its magic. Often organic, community gardens help promote soil health and community connection as much as they do delicious, locally grown food.